Congratulations on completing your home renovation! As you probably know by now, the whole process has come with a bag of mixed emotions. You must be looking forward to sitting back, relaxing, and enjoying your new living space. However, while most of the hard work may be over, there’s still one step remaining that stems from a crucial question: how to clean up the mess left behind?
In this blog post, we’ll guide you through one of many special cleaning situations with a calculated process, and show you how to properly clean your home after renovations, ensuring a sparkling and hygienic living space. Get ready to enjoy your newly-renovated, spotless home!
5 Steps to Get Your Home Sparkling Clean After Renovations
Cleaning and organising are processes that are always better executed with a plan in place. The plan we’ve laid out below will ensure you’re able to thoroughly enjoy the new areas of your home without having to worry about dirt and grime interfering. Keep reading as we unpack the 5 following steps:
- Preparing for Post-Renovation Cleaning
- Cleaning Up Surfaces, Walls, and Ceilings
- Cleaning Floors and Carpets
- Cleaning Fixtures and Appliances
- Taking Care of Ventilation and Air Quality
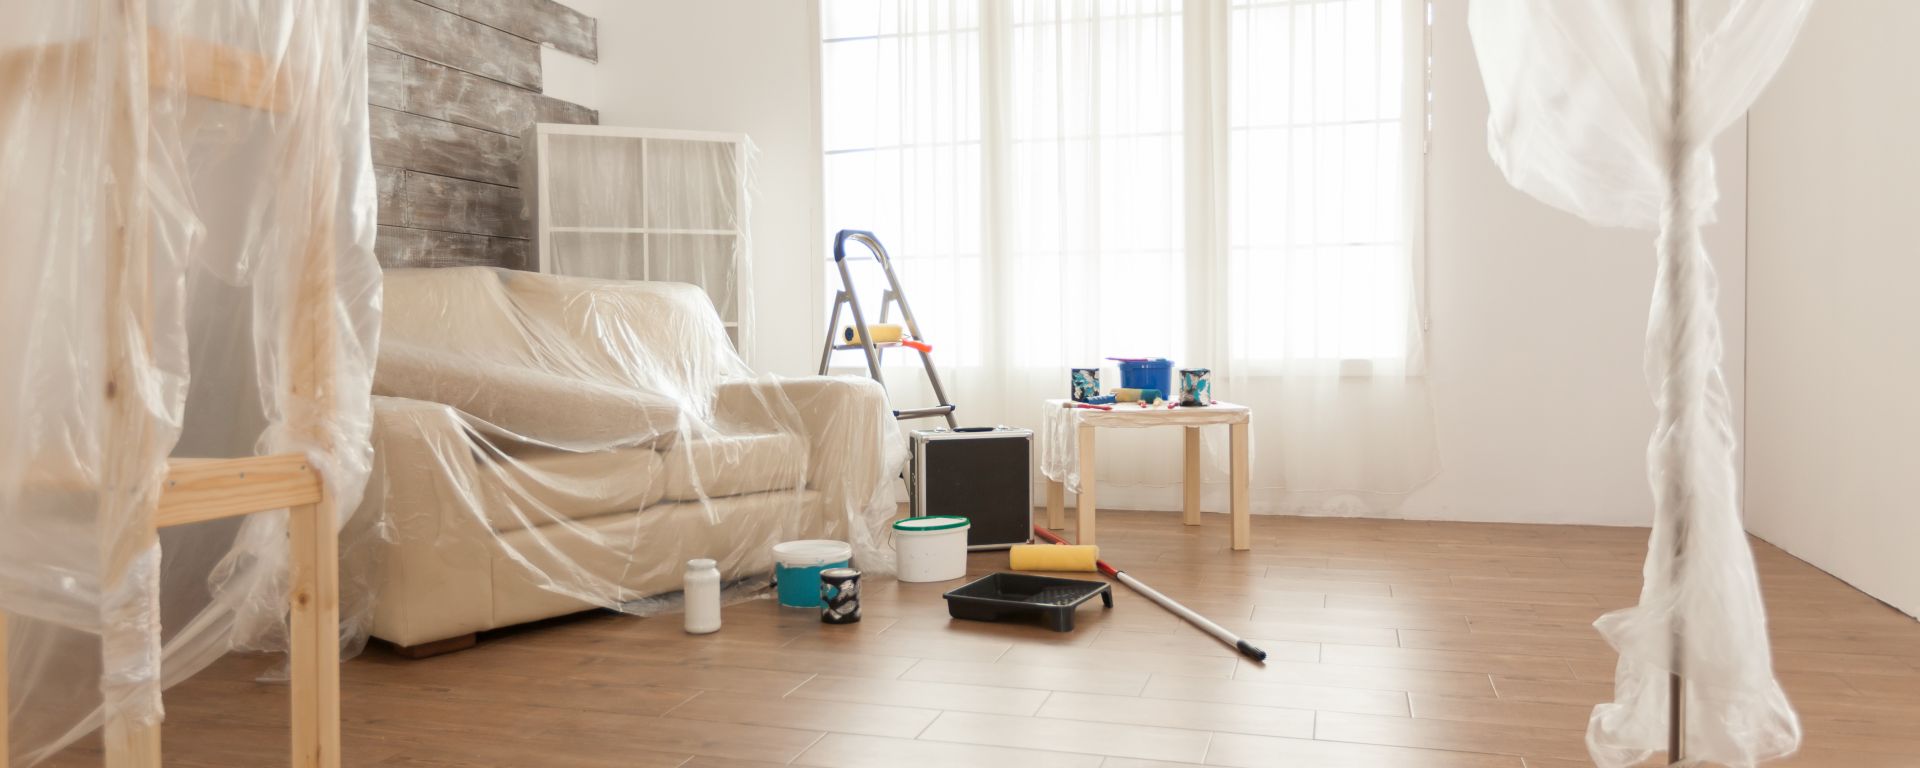
1. Preparing for Post-Renovation Cleaning
Before you begin cleaning, certain preparations will make your life easier. Follow the instructions below to prepare the renovated area for cleaning:
- Clear the area: Remove any furniture, equipment, or tools from the renovated area to provide a clear and clutter-free space for thorough cleaning.
- Gather the necessary supplies: Assemble the essential cleaning tools and supplies such as brooms, dustpans, vacuum cleaners, microfiber cloths, and any cleaning products needed.
- Ensure safety measures: Before you begin cleaning, make sure the renovation area is well-ventilated and you’re wearing the appropriate safety gear, such as gloves and a mask if need be.
2. Cleaning Up Surfaces, Walls, and Ceilings

It’s important to clean from top to bottom so that no dust and debris ends up spoiling a clean floor. That’s why these areas are cleaned first. Once you’ve made the necessary preparations, follow the instructions below to clean any surfaces, walls, and ceilings:
- Remove any large debris: Start by using a broom and dustpan to sweep up any large debris like wood chips, plaster, or nails. Dispose of these materials safely in designated containers. You may want to carry a box or bag with you to place the debris into as you go along instead of having to go back and forth.
- Clean walls and ceilings: Dust or vacuum walls and ceilings to eliminate as many dust particles as possible. For more stubborn dirt or stains, wash the surfaces using a suitable detergent and a soft sponge. Be careful when removing paint splatters or stains. Use the appropriate methods for each surface type so that no damage is done.
- Dust all surfaces: Use microfiber cloths or dusters to gently dust furniture, shelves, light fixtures, and other surfaces that have dust settled on them. Pay close attention to corners, crevices, and hard-to-reach areas.
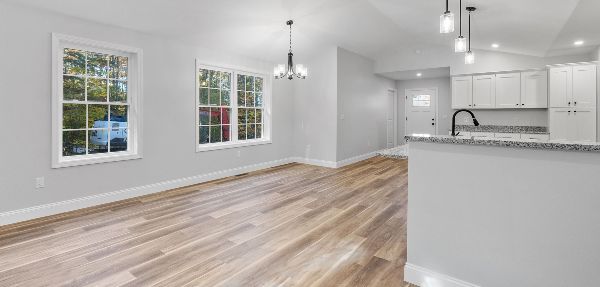
3. Cleaning Floors and Carpets
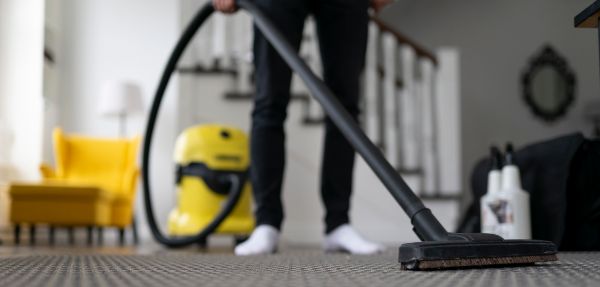
Once you’ve taken care of the areas higher up, it’s time to turn your attention to the mess beneath you. Follow the instructions given below for the relevant floor type to get your floors and carpets looking their best again:
- Hardwood or tile floors: Sweep or vacuum the floors to remove loose debris. Mop with a gentle cleaner suitable for your specific floor. If you need advice, use our in-depth post to learn how to clean different types of flooring. Treat any stubborn stains or residue carefully to avoid damaging the surface.
- Carpeted floors: Vacuum the carpets thoroughly using a powerful vacuum cleaner. Pay extra attention to areas where lots of foot traffic occurs. Spot treat any stains by following instructions with the appropriate carpet stain remover. Hire professional carpet cleaners for a deep clean if necessary.
4. Cleaning Fixtures and Appliances
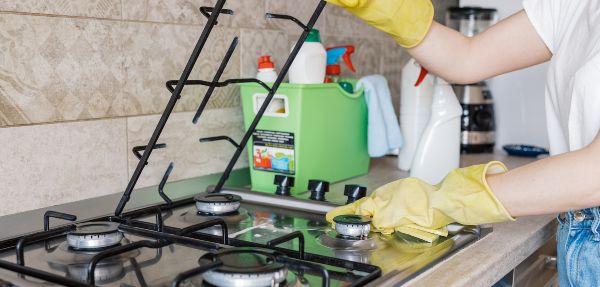
If you’ve had renovations done in your kitchen or bathroom, you’ll need to clean the fixtures and appliances in each of those rooms. Use the instructions below to ensure you don’t miss a single spot:
- Kitchen fixtures and appliances: Clean countertops and cabinets using a suitable detergent mixed with warm water. Wipe down appliances, both inside and out, to remove dust and residue from all the little crevices. Use a vinegar and water mixture to descale taps and fixtures if need be.
- Bathroom fixtures and surfaces: Clean the bathtub, shower, and toilet using your choice of bathroom cleaners. Wipe down sinks and countertops, paying special attention to any grout lines. End off by cleaning mirrors and glass surfaces with the appropriate cleaning products.
5. Taking Care of Ventilation and Air Quality
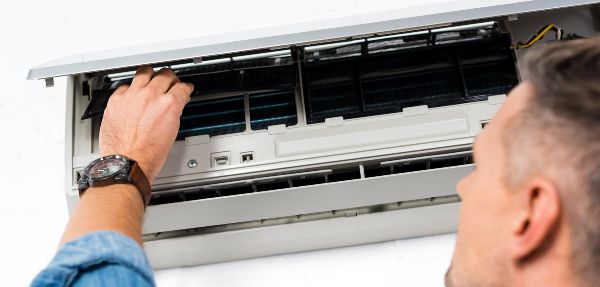
Now that all floors, surfaces, fixtures, and appliances are clean, you’ll want to make sure the air inside your home is of the same quality. Use the guidelines below to give your home the cleanest airflow possible:
- Change air filters: Replace or clean air filters in your heating and cooling system to reduce dust buildup and ensure proper air circulation.
- Dusting and cleaning air vents: Carefully dust and clean air vents to prevent the circulation of dust through your home. Use a vacuum cleaner with a brush attachment or a damp cloth for effective cleaning.
- Using air purifiers or opening windows: Air purifiers are a great way to further improve air quality. Don’t forget to keep windows open during the cleaning process, as this can also help to remove stale air and bring in fresh air.
Conclusion
By following the steps above, you should be able to give your home a thorough clean once your renovations are complete. It’s important to do this, not only to begin on a clean slate mentally, but also to keep the newly added surfaces and fixtures in the best condition possible.
This is something that SweepStars are great at doing for your entire home. Book a SweepSouth cleaning service and enjoy the results of highly-rated and recommended professionals doing what they do best.